CSCS1320 C/C++ Programming
PROJECT: DRAW A PICTURE (dap0)
OBJECTIVE
To adapt and experiment with a program that generates an image, before having extensive knowledge of the subject matter.
Also to start some time-sensitive activities to ensure ground is broken on the project before the day it is due (see submission rubric below)
BACKGROUND
For this project, you will be using a graphics design library to render the indicated image.
GRABIT
I have prepared a grabit for resources related to this project. To
obtain it:
lab46:~/src/SEMESTER/DESIG$ grabit DESIG dap0
make: Entering directory '/var/public/SEMESTER/DESIG/dap0'
'/var/public/SEMESTER/DESIG/dap0/Makefile' -> '/home/user/src/SEMESTER/DESIG/dap0/Makefile'
'/var/public/SEMESTER/DESIG/dap0/dap0.c' -> '/home/user/src/SEMESTER/DESIG/dap0/dap0.c'
make: Leaving directory '/var/public/SEMESTER/DESIG/dap0'
lab46:~/src/SEMESTER/DESIG$
At which point you can change into the newly created and populated
dap0 directory.
Be sure to add, commit, and push this to your lab46 clone of your repository.
Then, on your pi/system, pull and update to get the files available there, or continue working on it on lab46.
TASK
It is first your task to study the existing code, figuring out how to compile and run it, and to view the image it produces.
Next, observing the composition of the image, study the code to try and ascertain how the various shapes are formed and positioned where they are, along with other elements like colors.
You will want to experiment with the code, making small changes to see if you can predictably change the resulting image that it output. Once you get comfortable with it, and you can reliably make predictable changes, you can proceed to the submittable task:
You will want to modify this program that generates an image according to the following specifications:
- is a coherent image, consisting of a recognized theme
- allocates and utilizes at least EIGHT (8) colors
- image dimensions are no smaller than 1000 pixels on either axis
- picture utilizes the bulk of the canvas
- uses at least 3 instances of each of:
- circle/ellipse
- line
- rectangle
place a black, filled 2x2 rectangle at coordinates 0, 0 in the image
The program will be an exercise in exploration: you will be given some example code that does something. You should poke at it to gain deeper understanding. Then you will, taking out the demo graphics, implement the needed steps to generate your intended picture.
Your program should:
- have valid, descriptive variable names of length no shorter than 3 symbols
- have consistent, well-defined indentation (no less than 4 spaces per level of indentation)
- all code within the same scope aligned to its indentation level
- have proximal comments explaining your rationale and what is going on, throughout your code
- perform the intended operation, outputting the correct/accurate information in indicated format
mix a color, calling it "gray", using an RGB value of 0xA1, 0xA1, 0xA1
LAB46 DEVELOPMENT
If you desire, you can do this project entirely on the LAB46 SHELL SYSTEM, making use of your WEB DIRECTORY to view your image in a WEB BROWSER.
ON YOUR DEVELOPMENT SYSTEM
You are also free to work on this project on your own Linux system, provided it has the necessary tools and libraries available to compile and run it.
To utilize the needed functionality for this project, you will need to ensure you have the following packages installed:
- build-essential
- libgd-dev
- libgd-tools
- libgd3
And any related packages that may be needed to support this endeavour.
COMPILING
Since the grabit brought in a Makefile, if your code needs compiling
you can compile your code simply by typing: make
For this project, you can then run the program with: make run
If on the LAB46 SHELL SYSTEM, you can get the image copied into your web space (under the dap0/ subdirectory) by running: make install
When done and ready to submit, only on the LAB46 SHELL SYSTEM: make submit
STRATEGY
As with any process you are looking to describe or automate (in this case, both), if YOU do not personally understand or appreciate the steps involved, you are going to have a hard time communicating a proficient list of instructions to the computer to carry out.
So, the FIRST order of business would be to, BY HAND, ON A SHEET OF GRAPH PAPER (consider this your PROTOTYPE):
- START EARLY: Don't WASTE the abundance of time made available to you. Waiting until the last minute will only preserve frustration and confusion
- decide what sort of picture you would like to "render"
- practice plotting the elements out, figuring out how to best represent and fill the graph paper
- determine what a good ratio of blocks to screen size would be (holding a 11"x8.5" sheet of graph paper in landscape orientation would be a good fit for the resolution of 1280x1024, for example.
- mark up your appropriately sized and filled out prototype with the different colors the project calls for
- ONCE you have worked out your scheme by hand, you can THEN proceed to start playing with the provided code
- determine what shapes are being rendered (view it in a web browser or image viewer)
- make changes to the shapes. Experiment and develop an understanding of the coordinate system and how you can predictably impact the shape as it is rendered in the image
- once you understand how to manipulate the shapes, remove the demo shapes/comments and start laying down your own
- the provided code infrastructure may not be adequate for the demands of the project, and will need to be expanded in some areas
- see if you understand the patterns of the existing infrastructure, and explore attempts to expand it to support your project aims
- ASK QUESTIONS so as to maintain an understanding of what is going on
VIEWING THE PICTURE
Depending on your computing setup, choose the most practical means of viewing your program's image output:
VIEWING VIA THE WEB ON LAB46
If you have successfully built and run the code on LAB46, running the
install line as documented above, you can view your handiwork through a
web browser, by pointing it at the image in your LAB46 WEB SPACE:
https://lab46.g7n.org/~user/dap0/dap0.png
Do NOTE that for the image to be properly updated after any code change, you will need to re-compile, re-run, and re-install as you did above. Neglecting to redo the steps will result in what appears to be a stale image that doesn't change or update.
NOTE: sometimes the web browser caches previous results, you may have to refresh a few times on revisions to get changes to manifest.
VIEWING VIA YOUR DEVELOPMENT SYSTEM
Open a file browser, web browser, or image viewer and navigate to/open up your dap0.png image in your ~/src/SEMESTER/desig/dap0/ directory.
Rinse and repeat as you go through revisions.
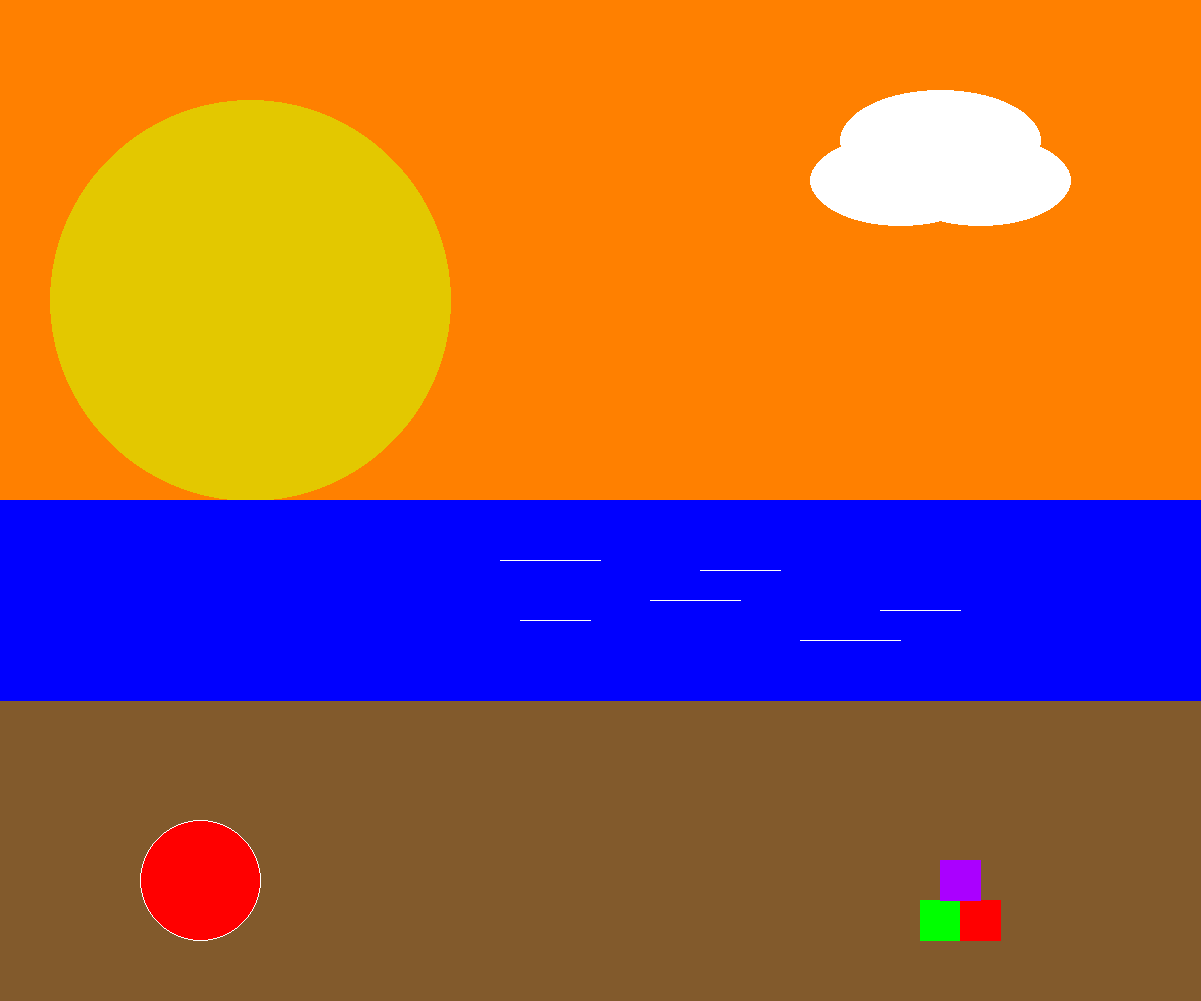
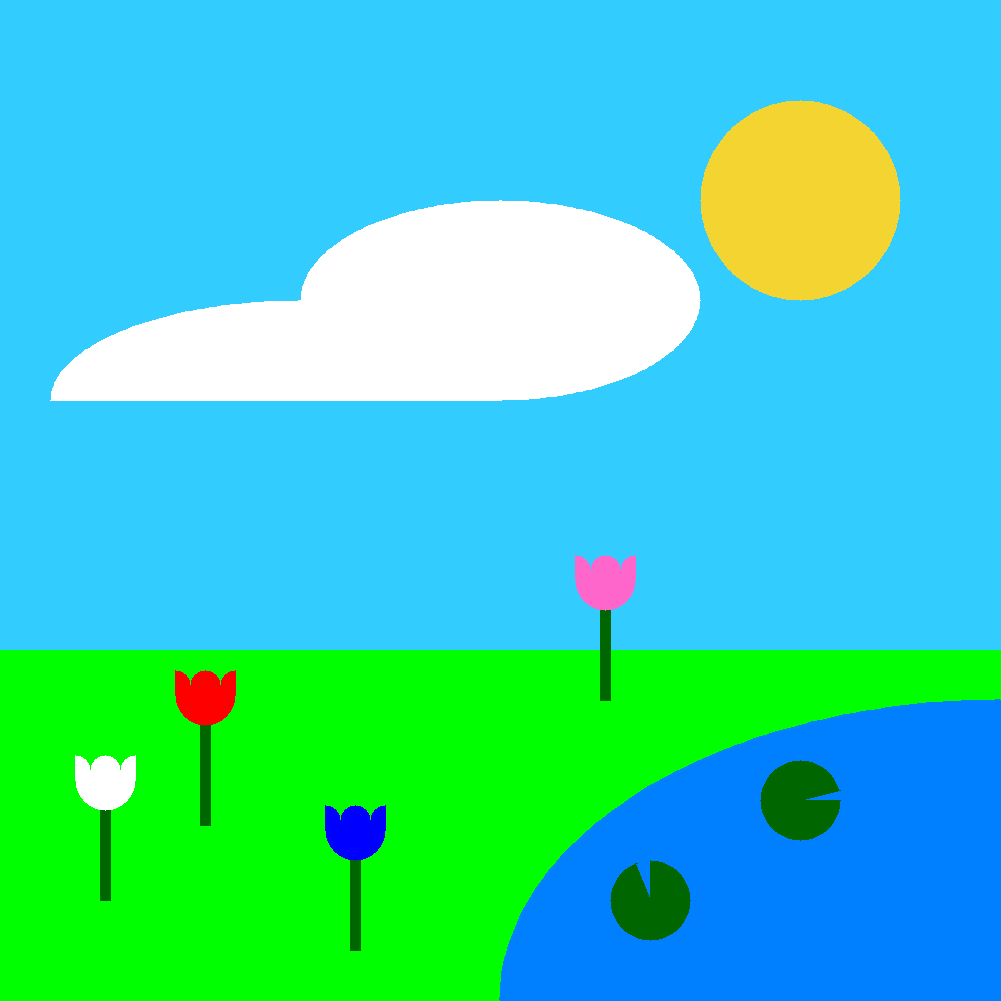
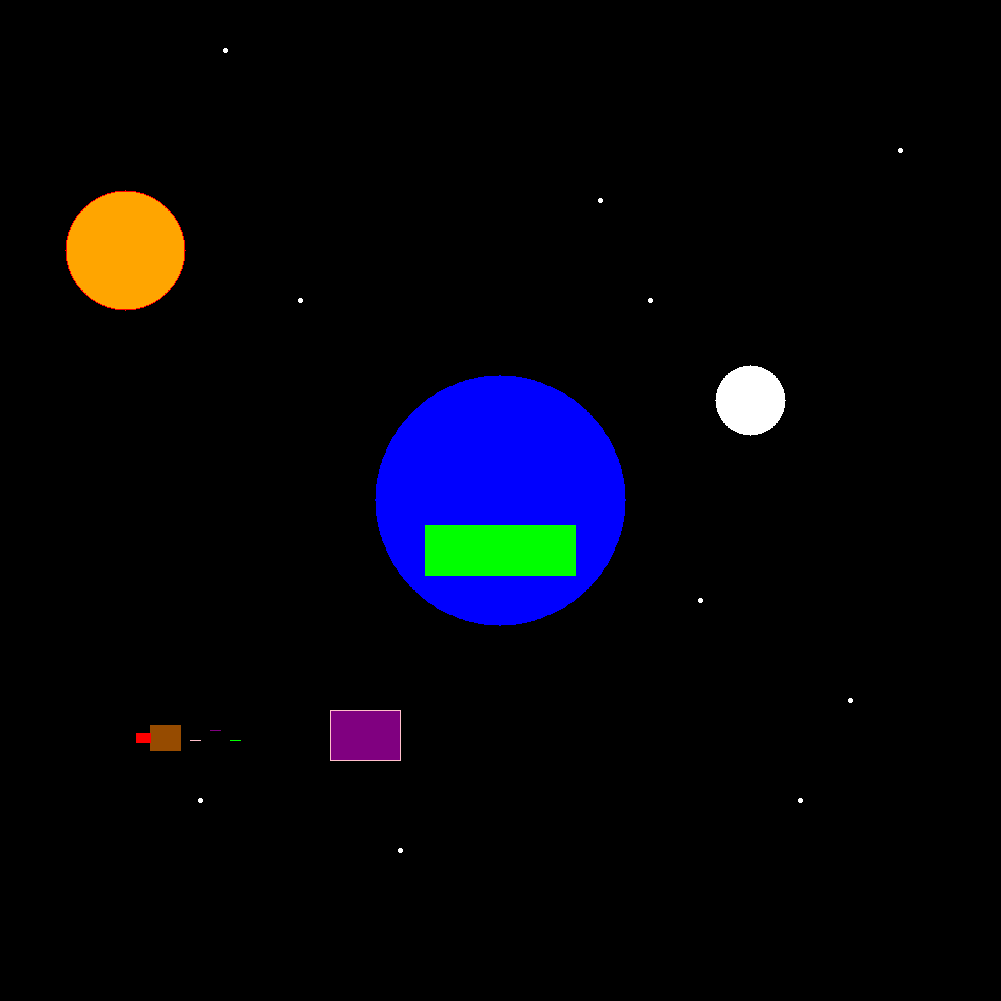
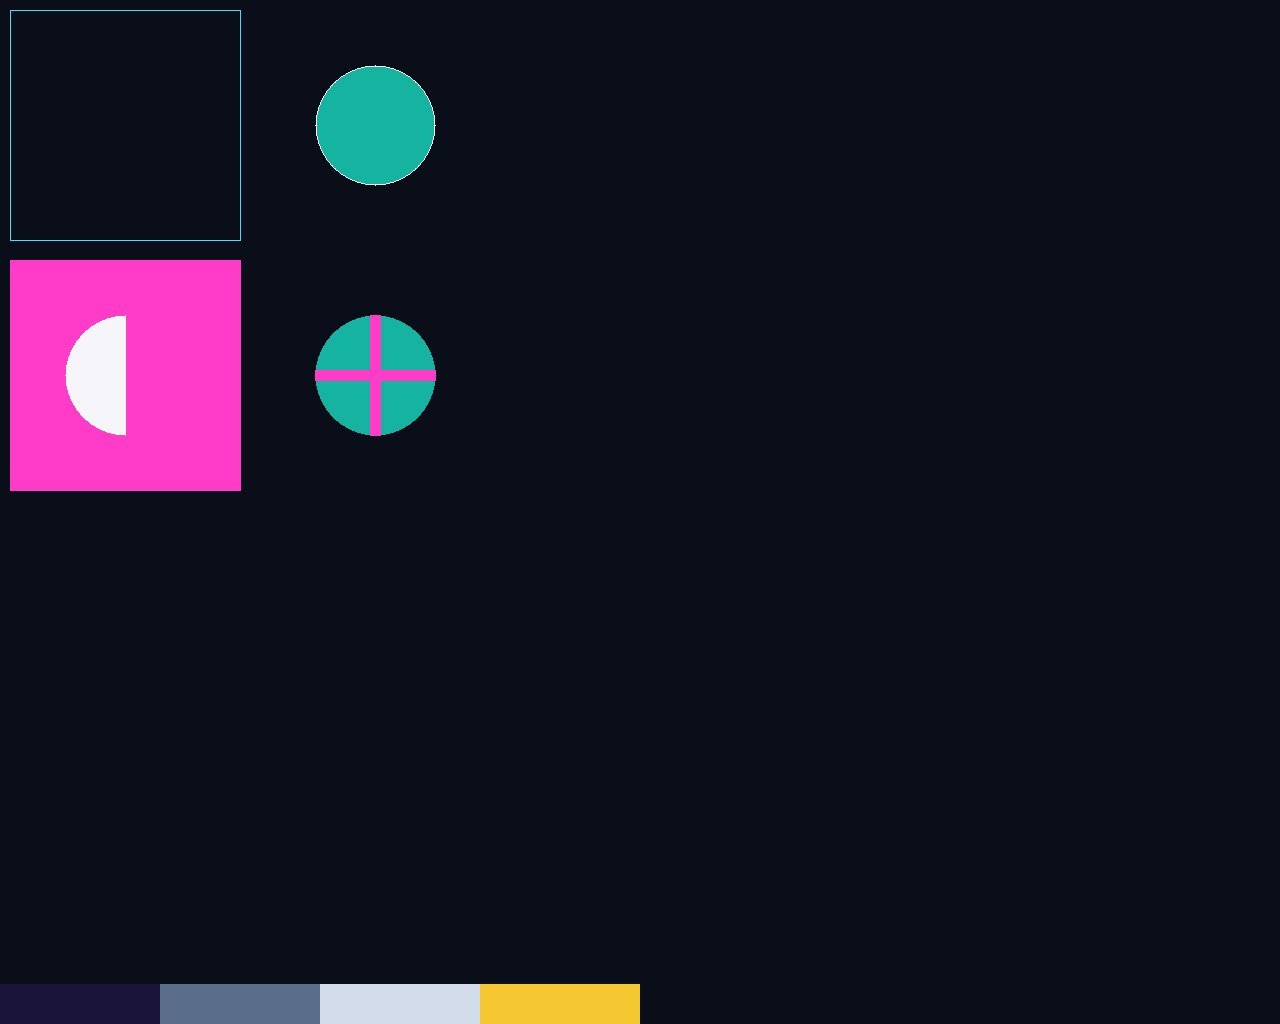
PREVIOUS SEMESTER ENTRIES
A selection of completed entries from prior semesters:
CURRENT SEMESTER ENTRIES
Direct links to the default images of all doing dap0 this semester:
dcastil2 eraffer2 lbailey6 ngugliel rsmith18 snipitku
SUBMISSION
To successfully complete this project, the following criteria must be met:
- Code must compile/execute cleanly (no notes, warnings, nor errors)
- Code must be nicely and consistently indented
- Code must be well commented
- Do NOT double space your code. Group like statements together.
- Track/version the source code in your private semester repository
- Submit a copy of your source code to me using the submit tool
To submit this program to me using the submit tool, run the following command at your LAB46 prompt:
lab46:~/src/SEMESTER/DESIG/dap0$ make submitYou should get some sort of confirmation indicating successful submission if all went according to plan. If not, check for typos and or locational mismatches.
What I'll be looking for:
78:dap0:final tally of results (78/78)
*:dap0:post image created to #desig discord channel [13/13]
*:dap0:grabit the code on lab46 by Sunday before deadline [13/13]
*:dap0:code is pushed to private semester repository [13/13]
*:dap0:no negative compiler/interpreter messages for program [13/13]
*:dap0:proper output formatting per specifications [26/26]
Additionally:
- Solutions not abiding by spirit of project will be subject to a 50% overall deduction
- Solutions not utilizing descriptive why and how comments will be subject to a 25% overall deduction
- Solutions not utilizing indentation to promote scope and clarity will be subject to a 25% overall deduction
- Solutions not organized and easy to read are subject to a 25% overall deduction